With Halloween looming, we here at ContactCORP thought it'd be cool to make a quick tutorial on how to make a Squid Game inspired pumpkin!
Things you'll need
We went to our client Aldi and bought a huge extra large pumpkin for £1.99. You'll also need:
- A small, sharp knife 3'
- Table spoon
- Tea spoon
- A bag for guts
- Pen
Step one - mask layout
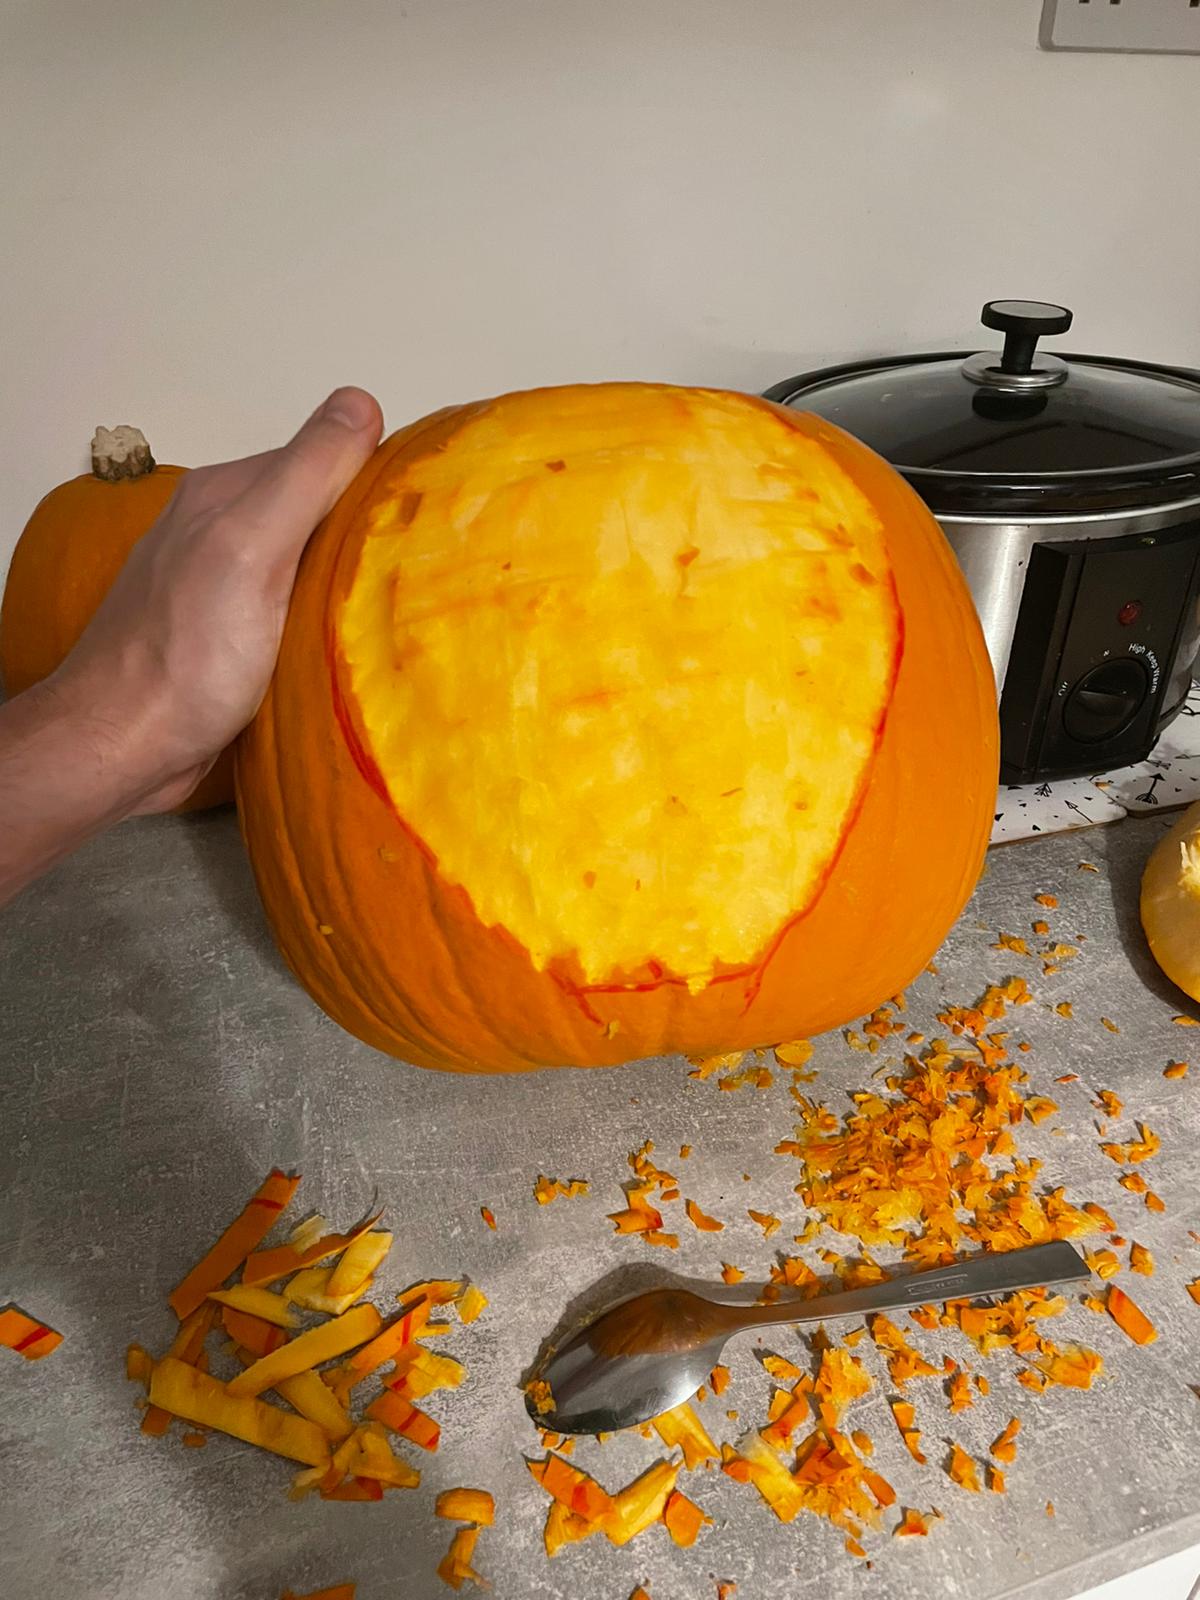
The main goal is to contour the mask and separate it from the hood to give it a 3D effect. We start this by mapping the area for the hood with a large oval shape. Once mapped, begin by using a knife to put a shallow groove deep enough so you pierce the skin of the pumpkin, tracing the oval design. Next, you need to remove only skin within the oval. I found this easier by putting horizontal cuts across it so my tablespoon had purchase as I dragged it vertically across each segment. You don't need to use too much pressure here, just enough to scrape off the skin.
Step two - mask shaping
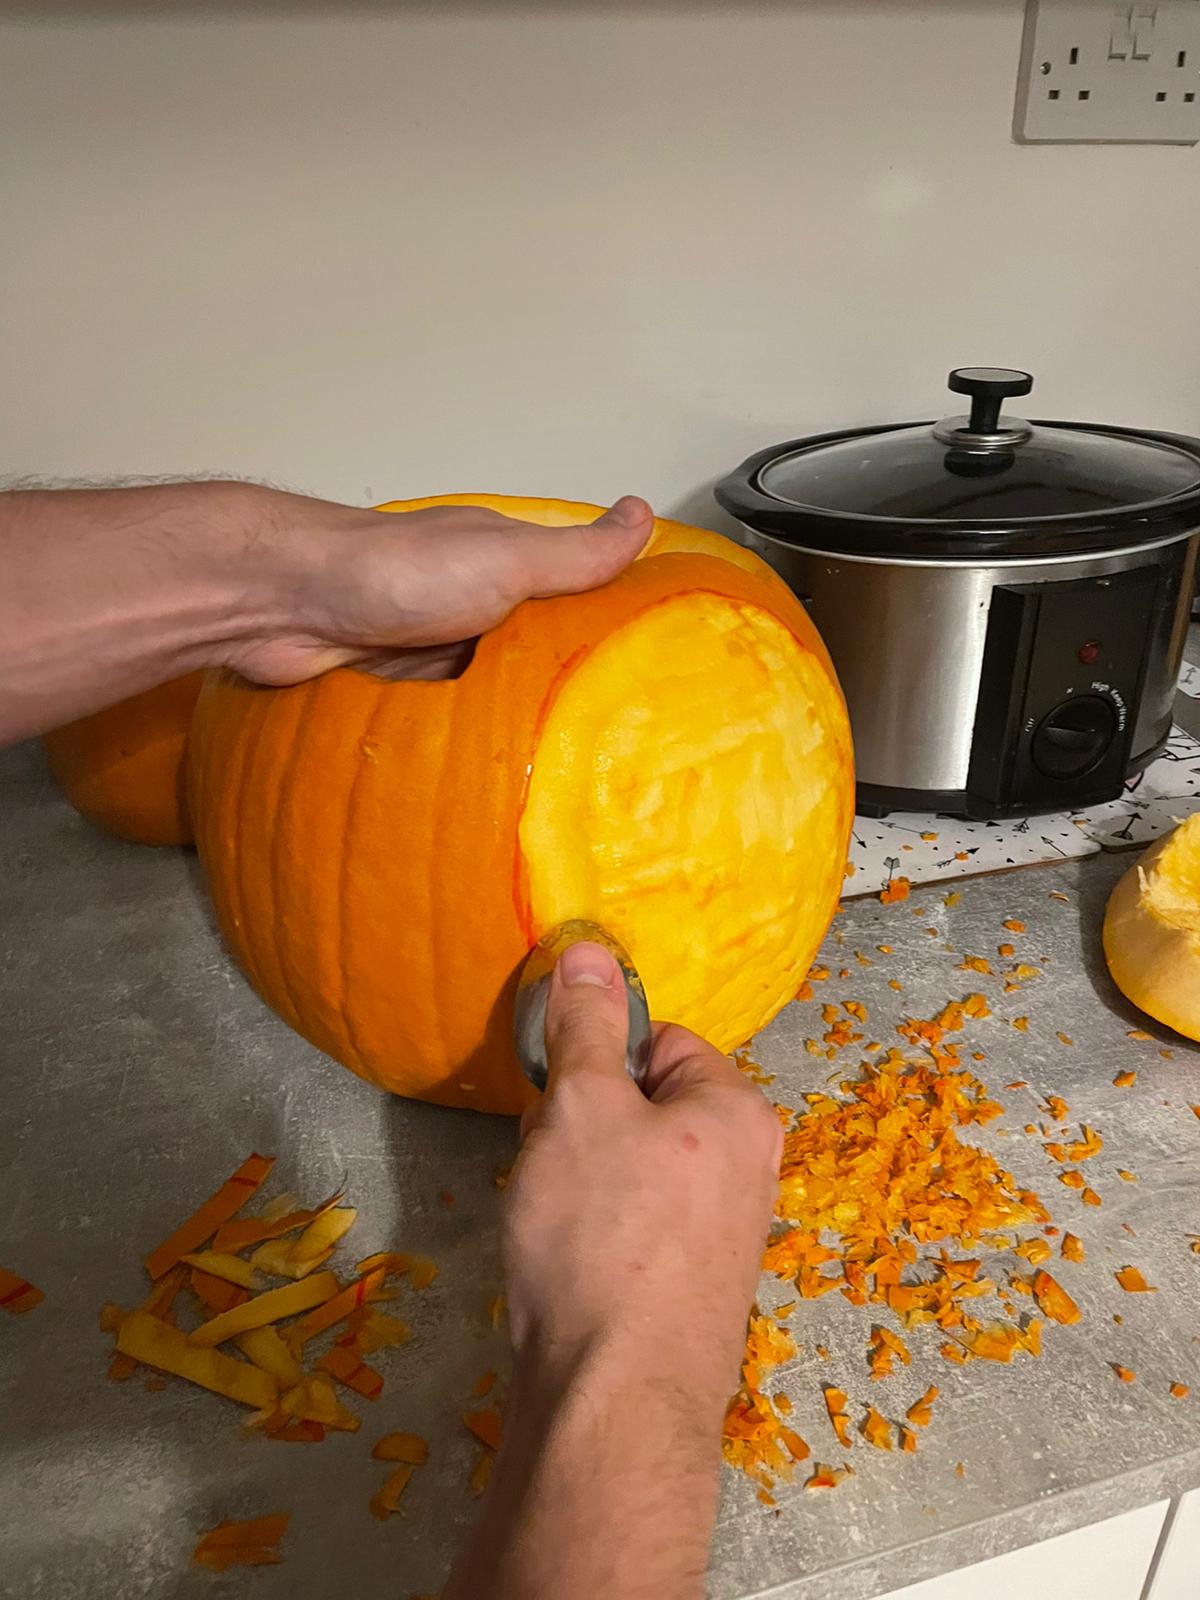
Once the oval shape of skin is removed, begin shaping the mask. Start by using the tablespoon to carve around the edge of the oval to a depth of approximately an inch. Work your way inwards slowly rounding off the oval to form the convex shape of your Squid Game mask.
Step three - define the hood
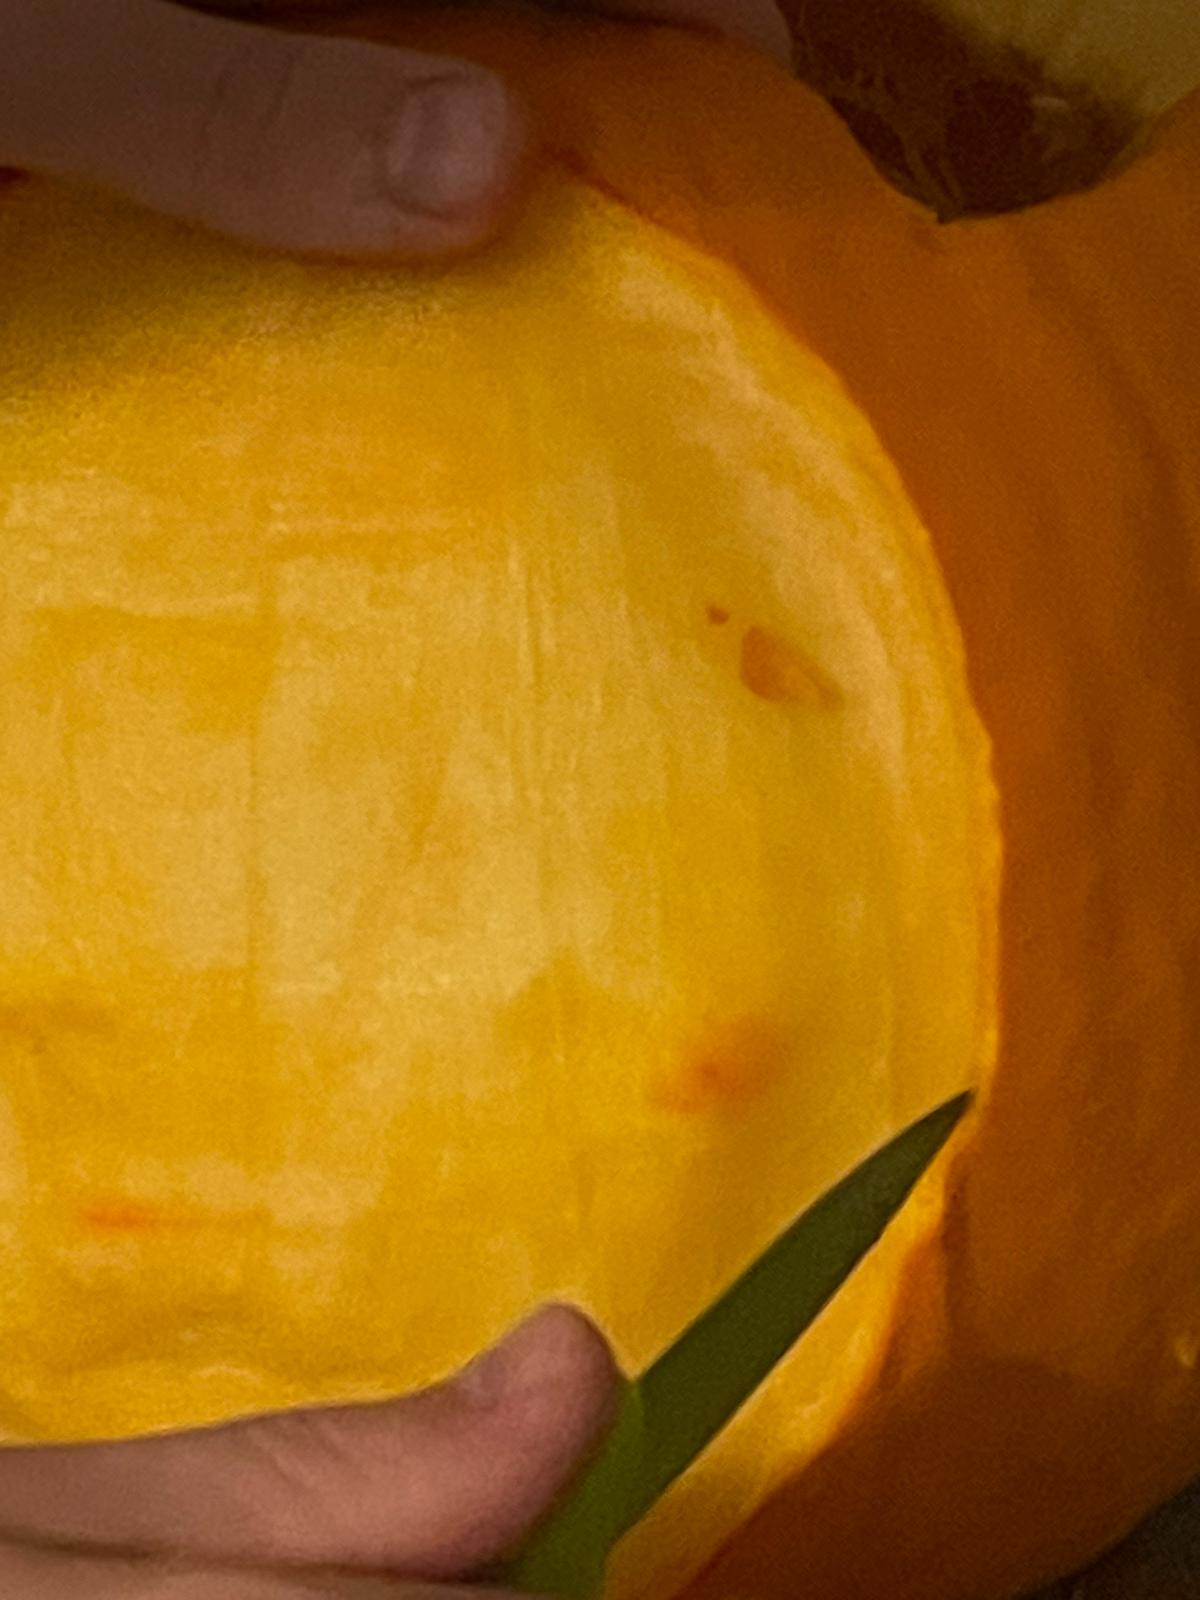
Using a knife, you want to use the gradual incline of the edge of the mask to indent behind the skin of the pumpkin all the way around the perimeter of your oval mask. This gives the illusion of the skin being a hood, giving the mask more depth. Use the back of your teaspoon to help hollow out the cavity.
Step four - mask mapping
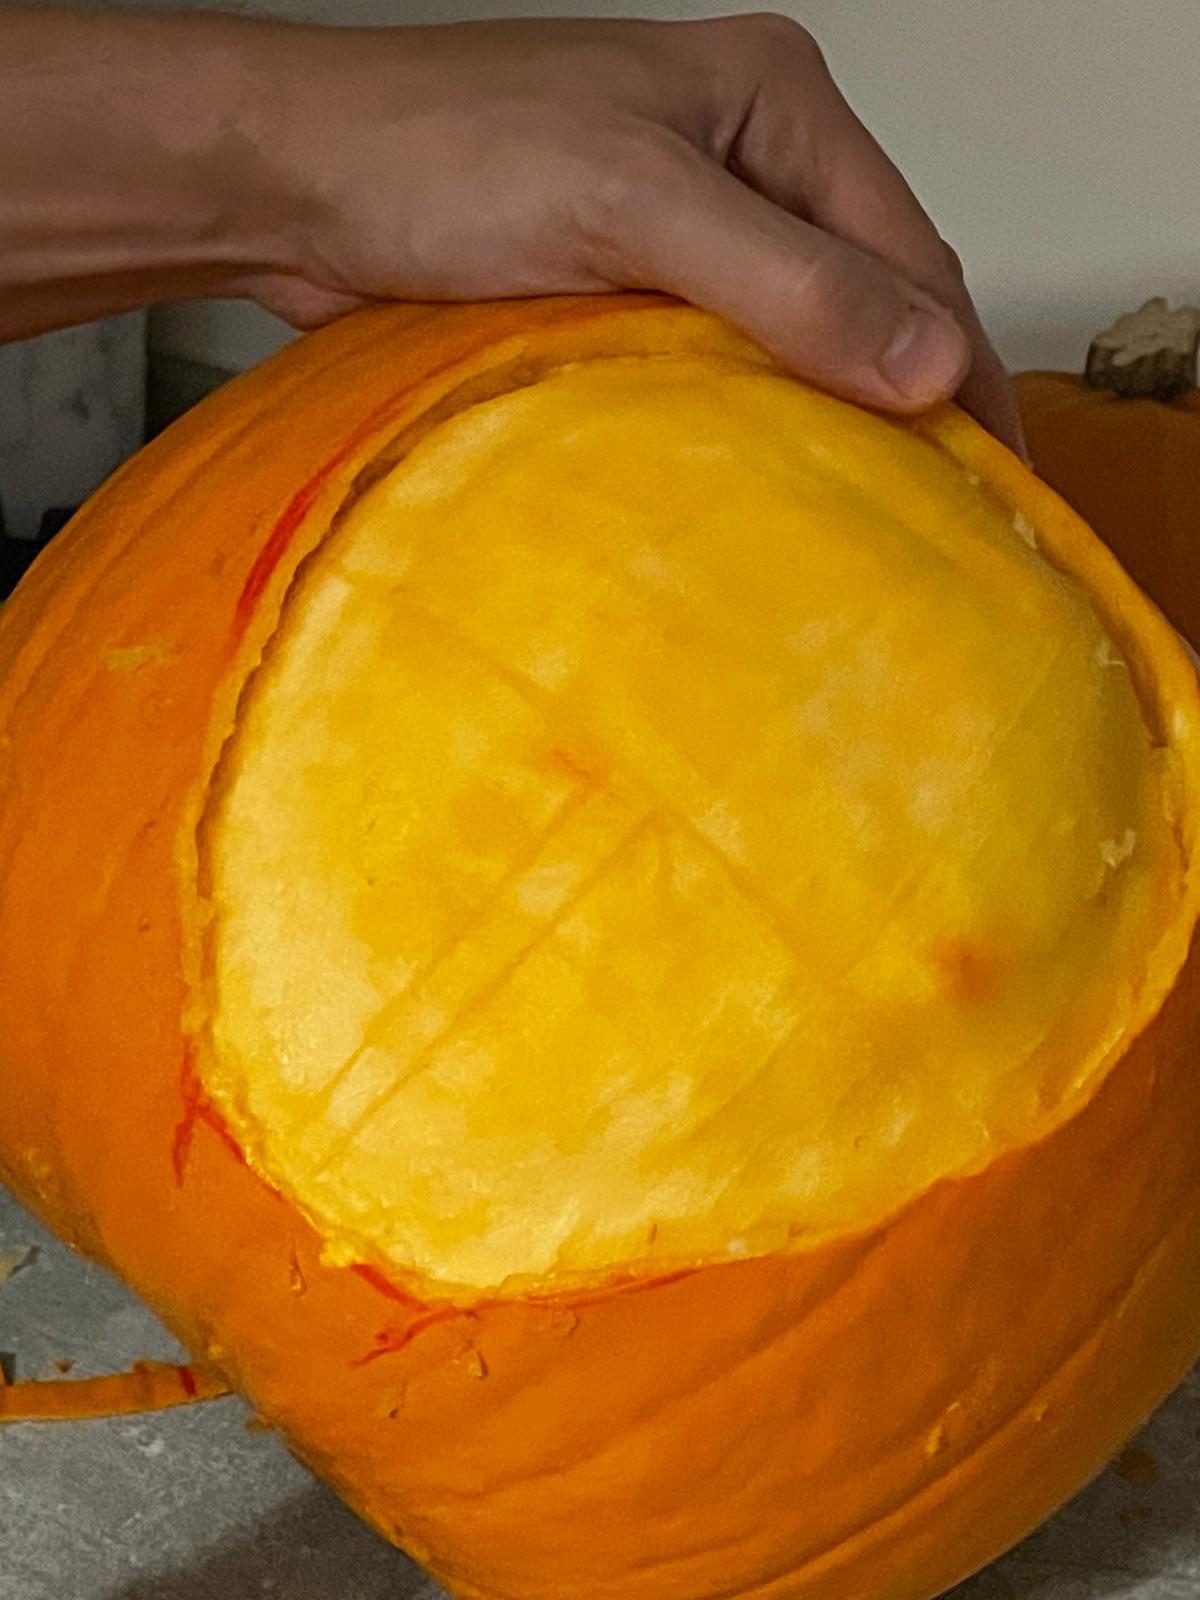
Use your knife to map out the mask design. This consists of a horizontal line in the centre of the mask with a vertical going from the centre to the base of the pumpkin. Place your square, circle or triangle design just above the centre divide.
Step five - levels
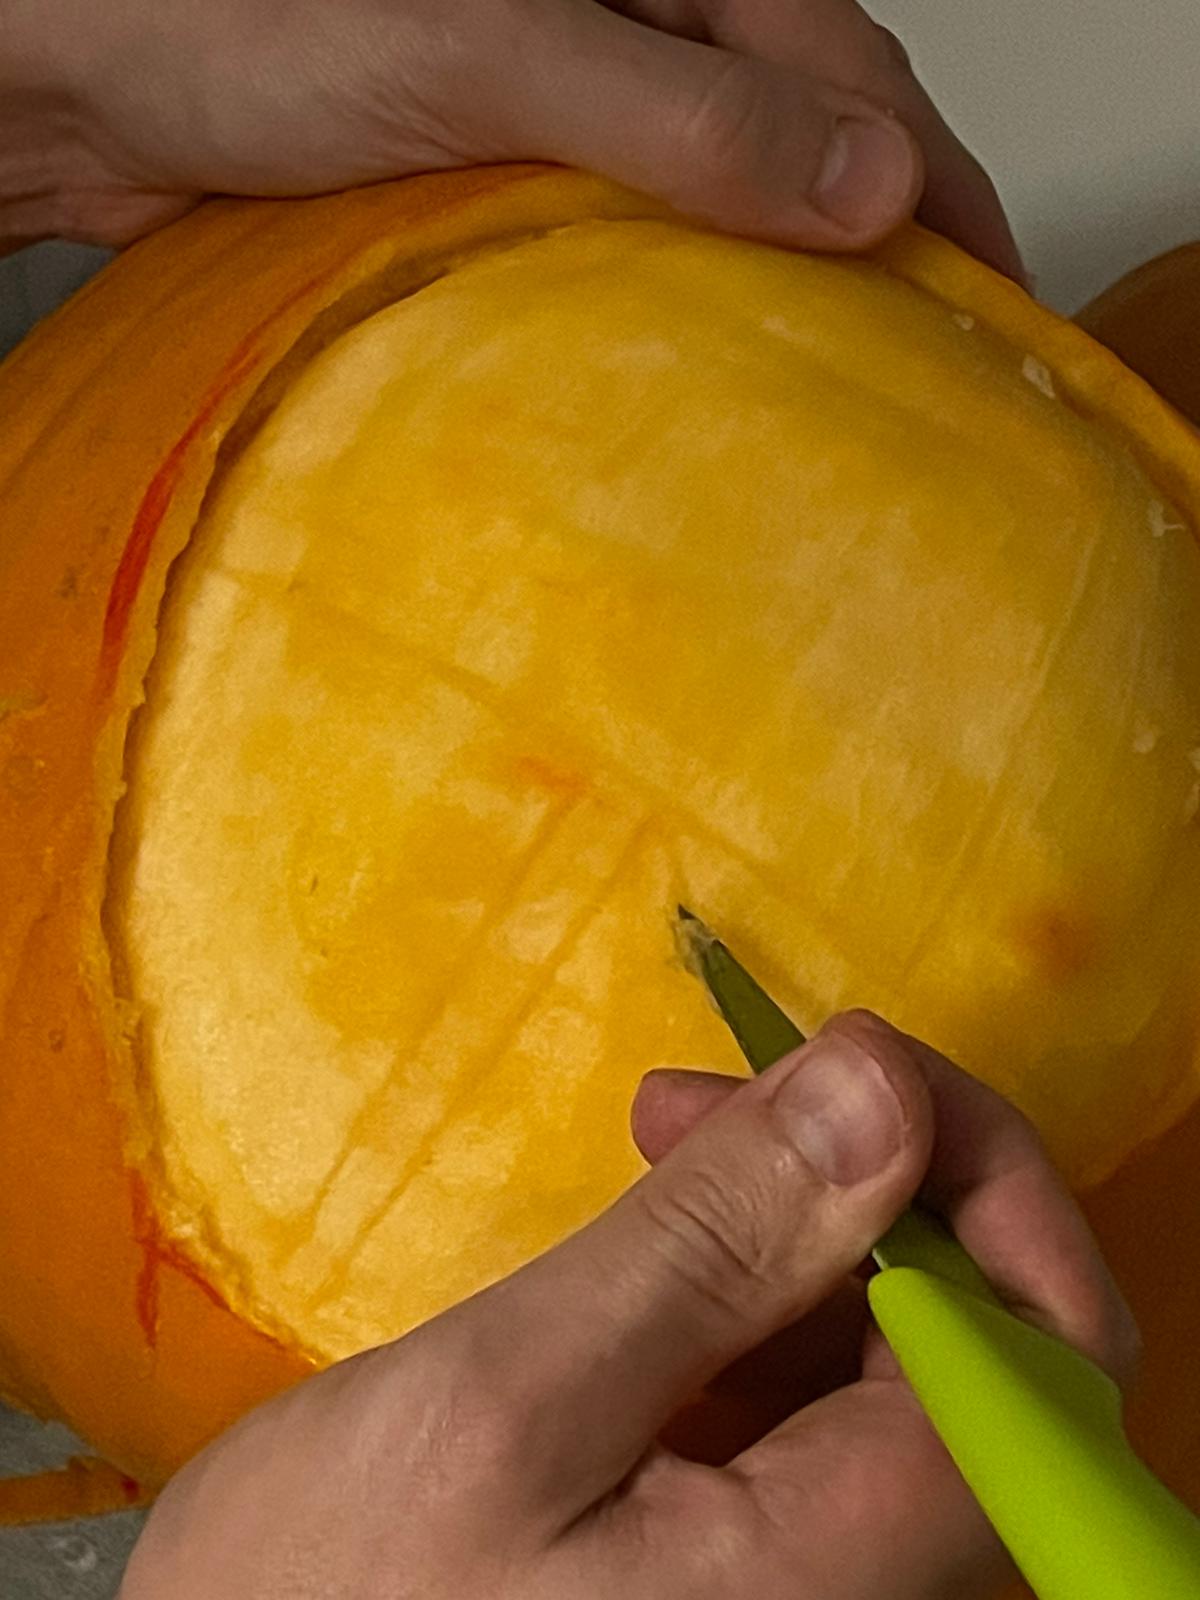
Once laid out, use your knife to cut deeper into the flesh around the two bottom segments of the mask. I found it easier to create another groove parallel to this so I could create a trench so I could put a larger gap to avoid damaging the divider with my spoon on the next step.
The back of your teaspoon will give you a good tool to help define and carve the flesh next to the embossed divider. Use your tablespoon to contour the mask like you did in step two.
Step six - your shape
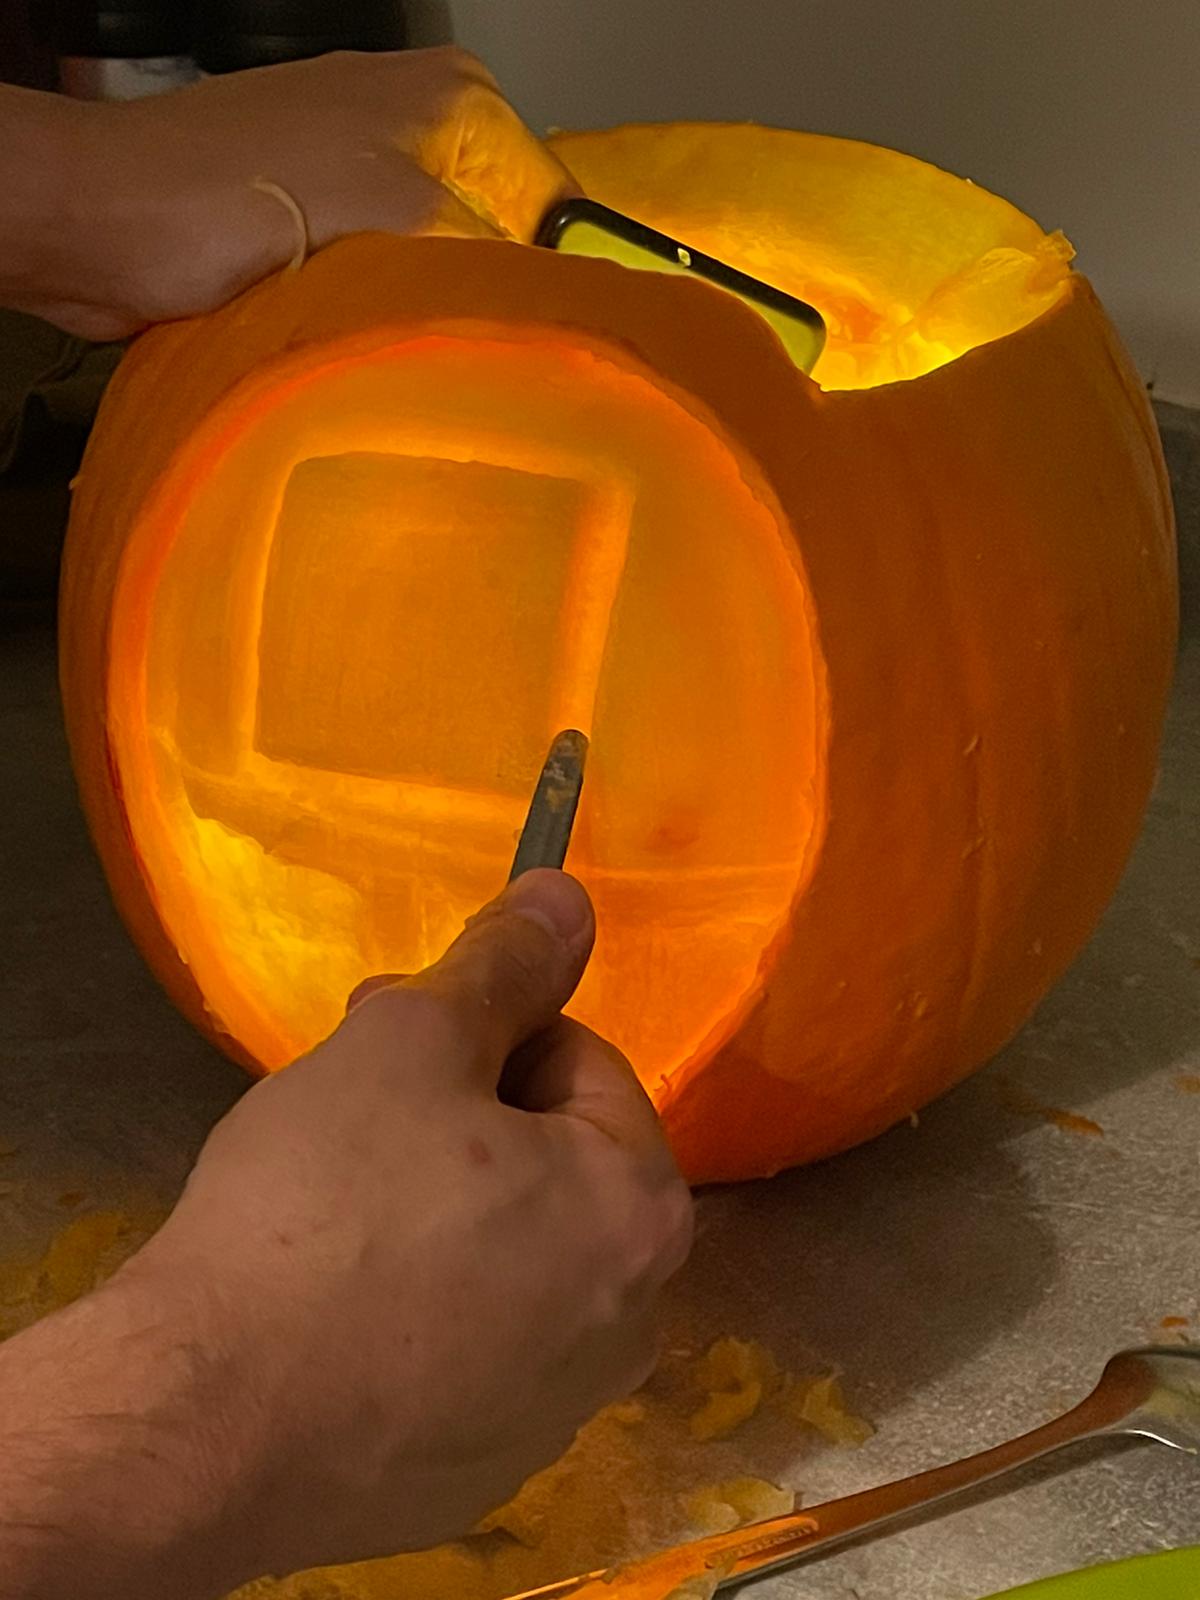
Use the back of your teaspoon to engrave your circle, triangle or square shape onto the top of your Squid Game mask.Keep tracing around until you match the depth of the shallowest point of the perimeter of your oval mask shape.
Step seven - thinning the inner wall
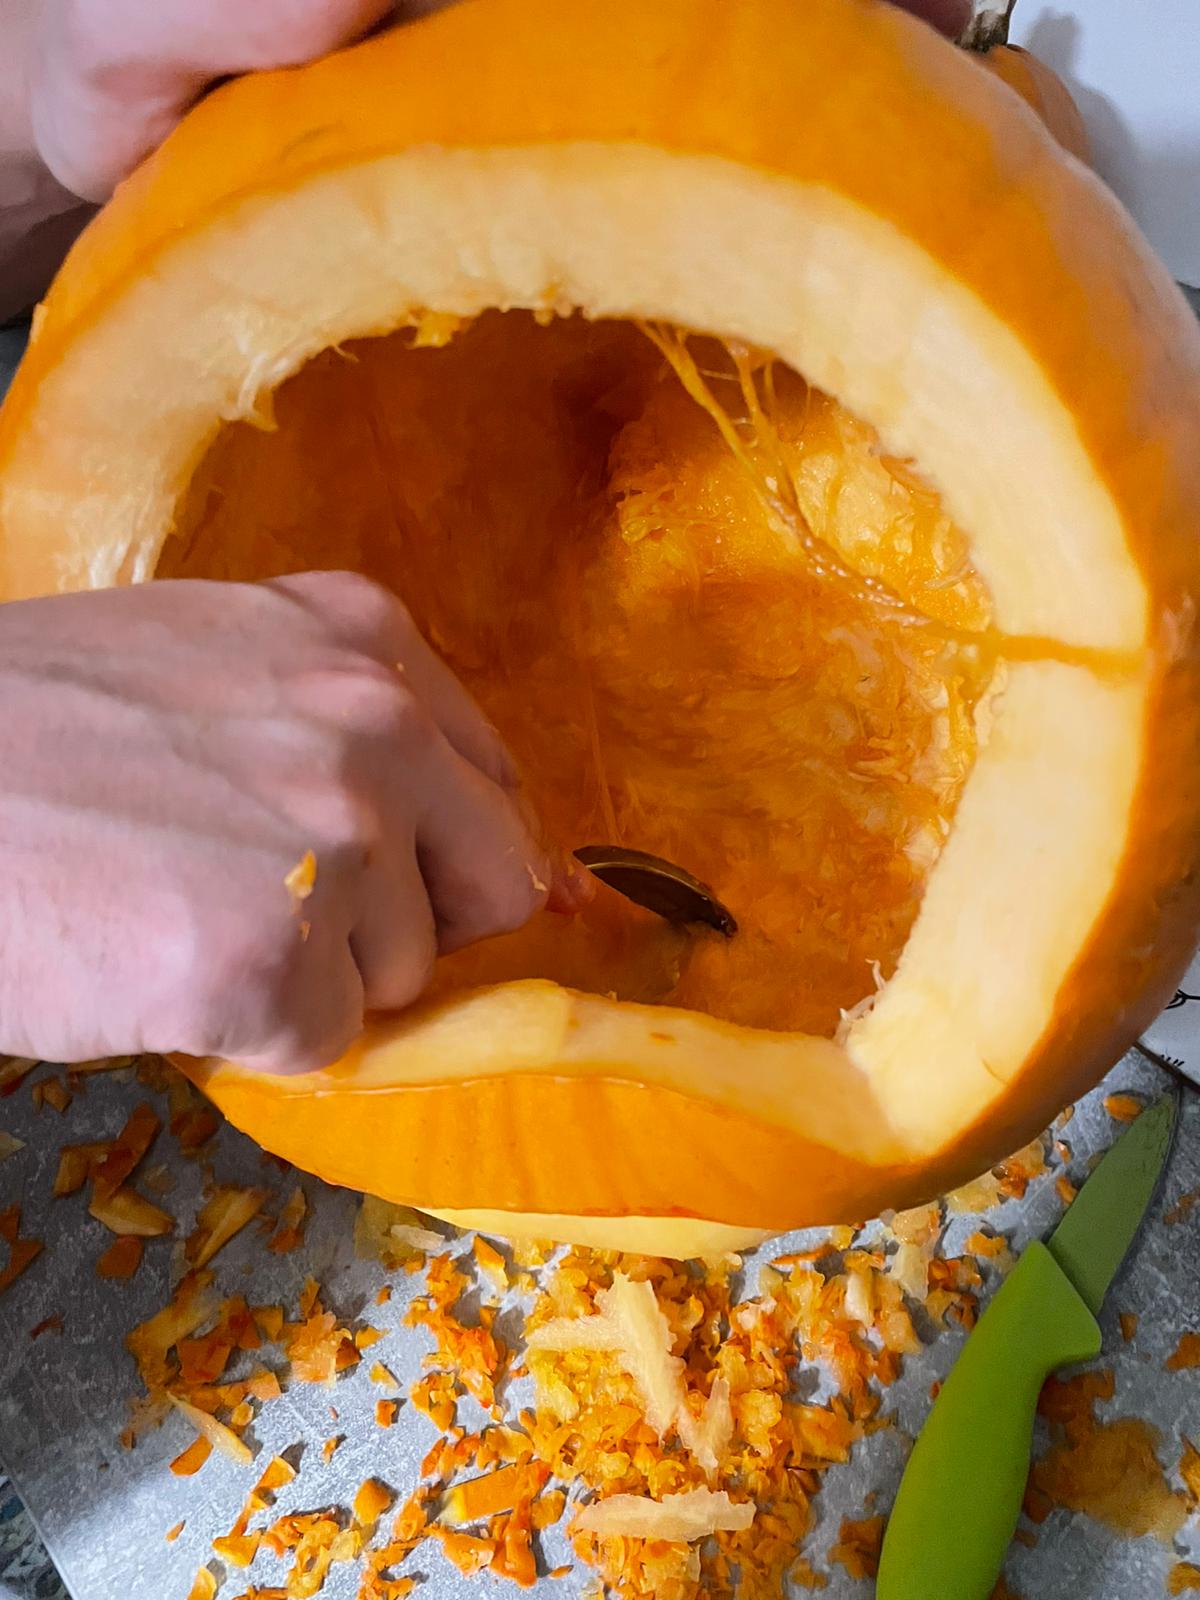
Using the tablespoon, go inside and hollow out the bottom half of your mask. We recommend using a light to judge the depth. Be careful not to hollow out too much flesh as you will pierce the surface of your design! Ensure your hollowing an even, concave shape that matches that of your exterior design.
Step eight - airflow
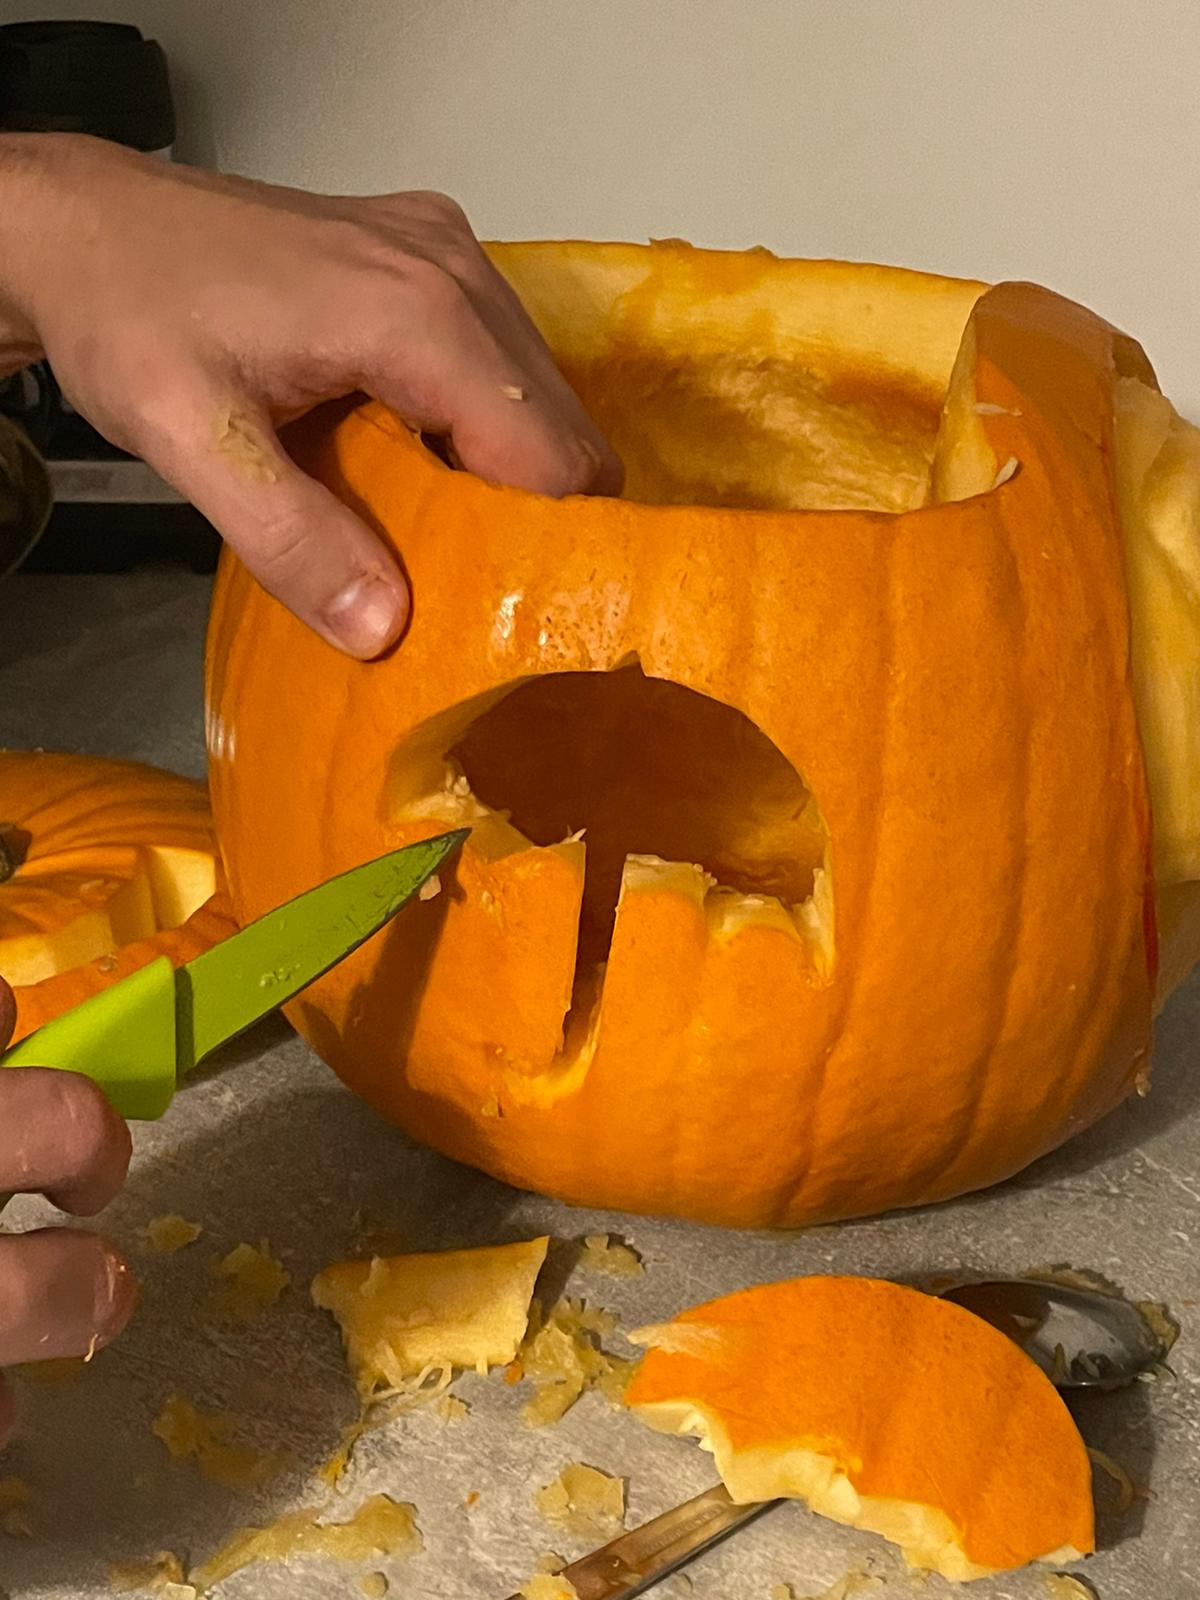
We need holes! I decided to go for the classic umbrella shape and, after realising how difficult it is despite it not being made of honeycomb, went for a triangle on the other side! Don't tell the guards, but I may have slipped a little.
Step nine - light it up
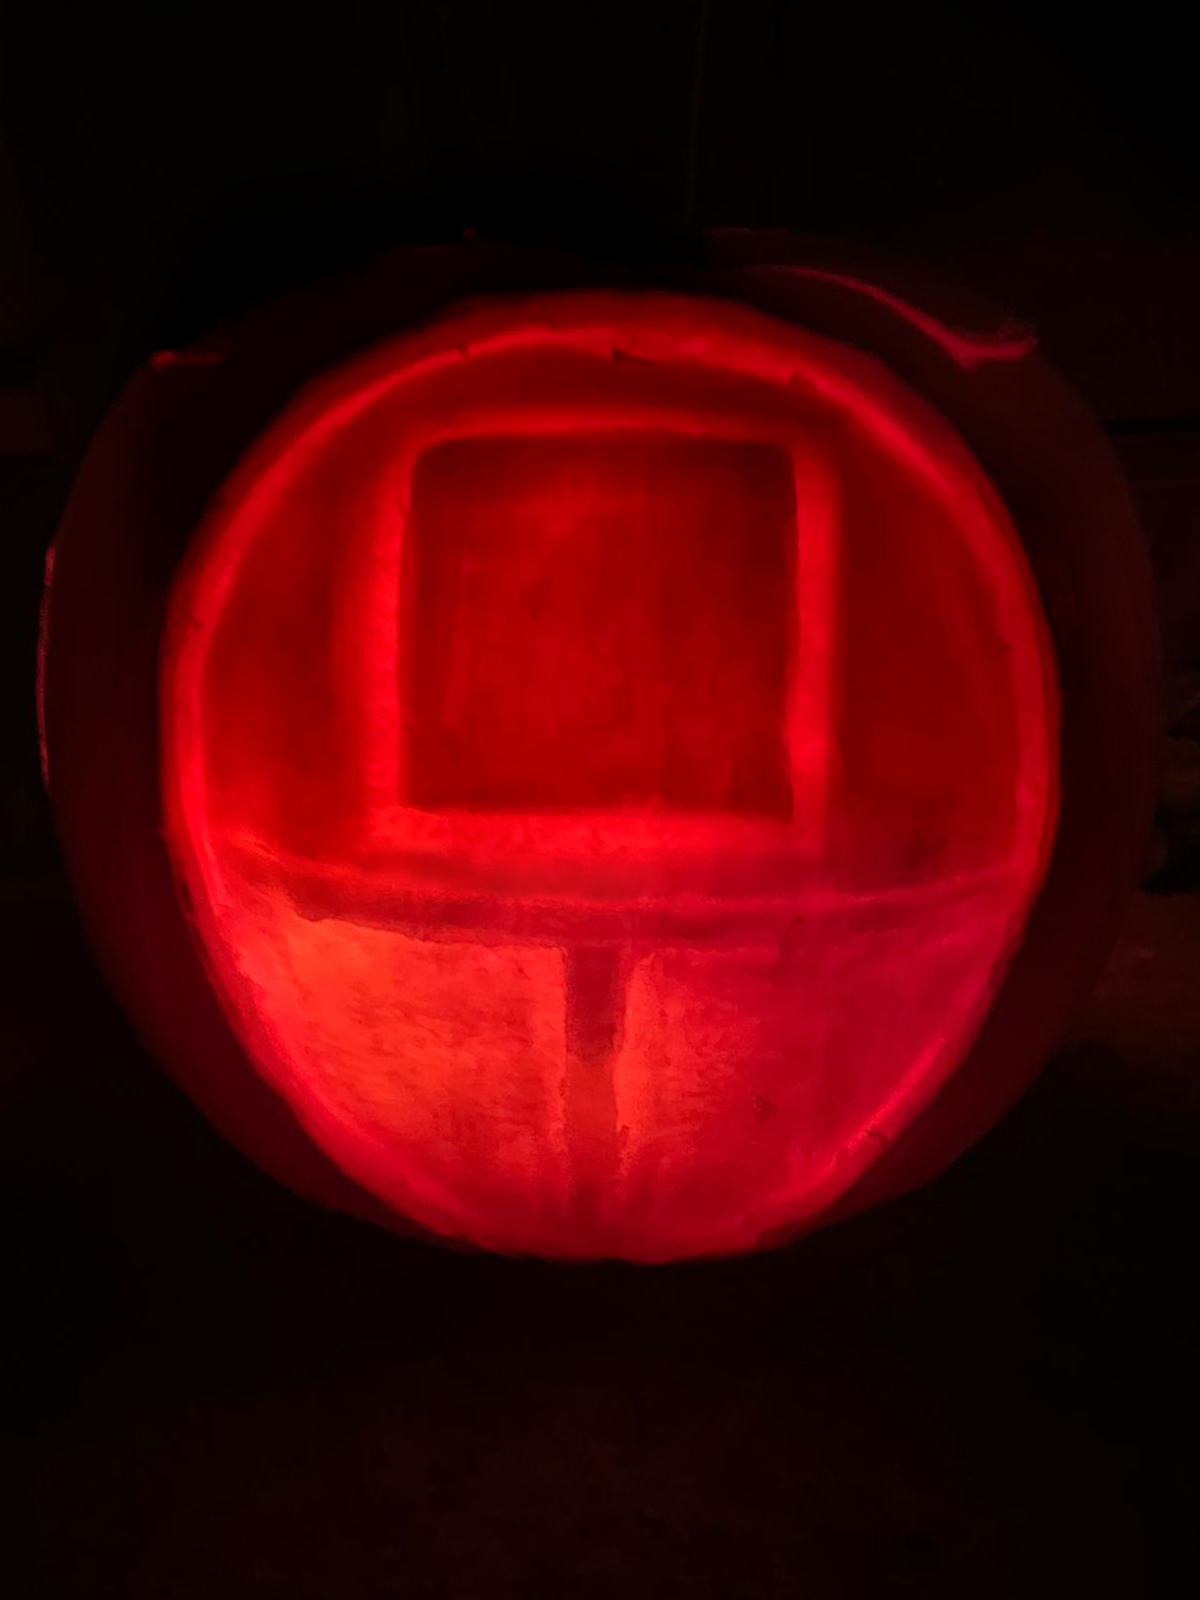
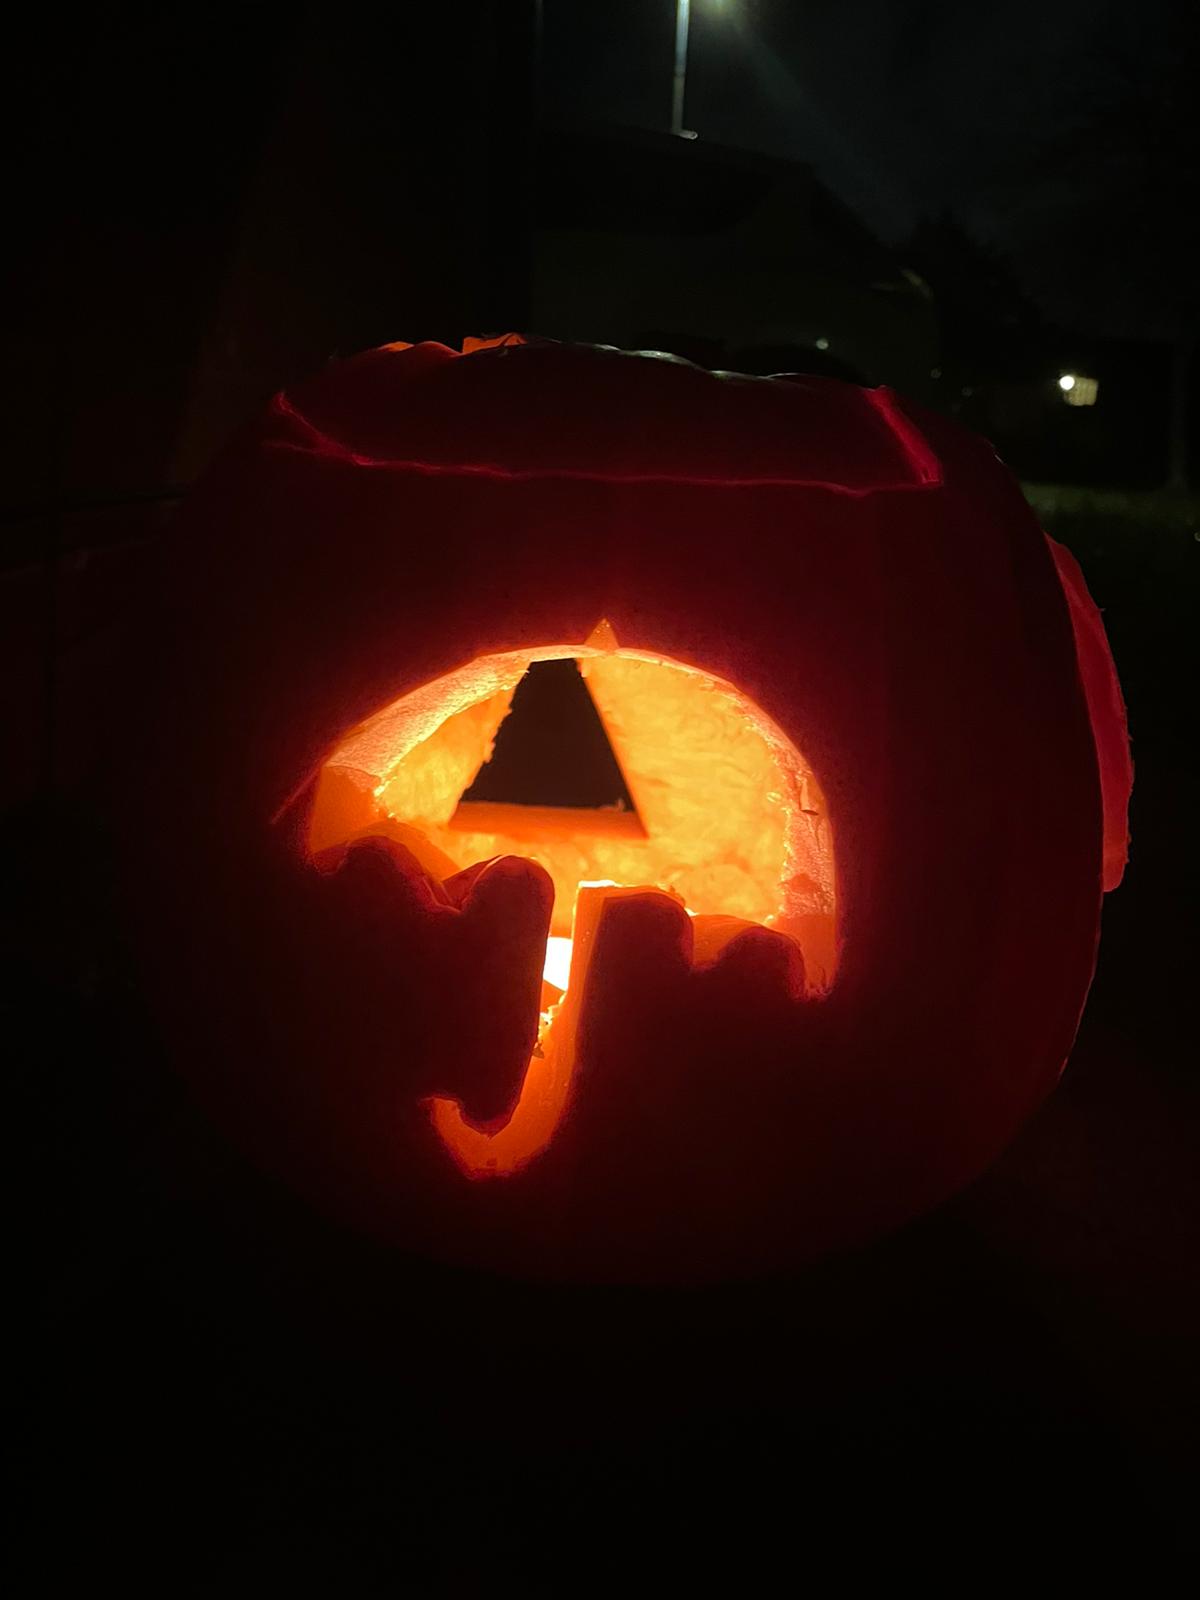
Bask in the warm glow of your Squid Game pumpkin by lighting a tea light inside and be the envy of your street with your topical pumpkin.
Want more ideas?
If you enjoyed this tutorial on how to create your own Squid Game pumpkin then why not follow us on Facebook for more decoration ideas! We have lots of things coming up from poppies to Christmas decorations, be sure to stay in the loop!